

|

|

|

|

|

|

|

|

|

|
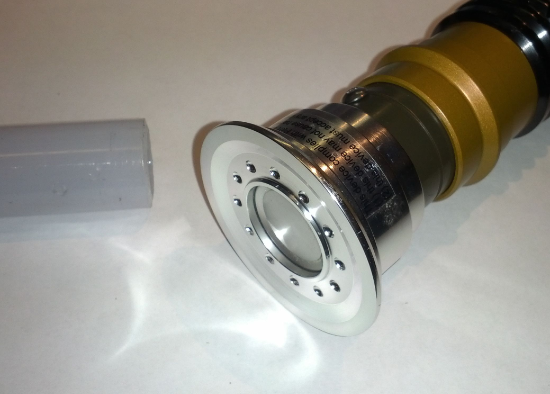

Battle Ready Blade Removal
So we've had some trouble with people trying to improperly remove the blades of their battle ready FX when the original saber was a removable blade model. So here we are going to explain the correct way to do this. This applies to the Obi-Wan and Kit-Fisto models.
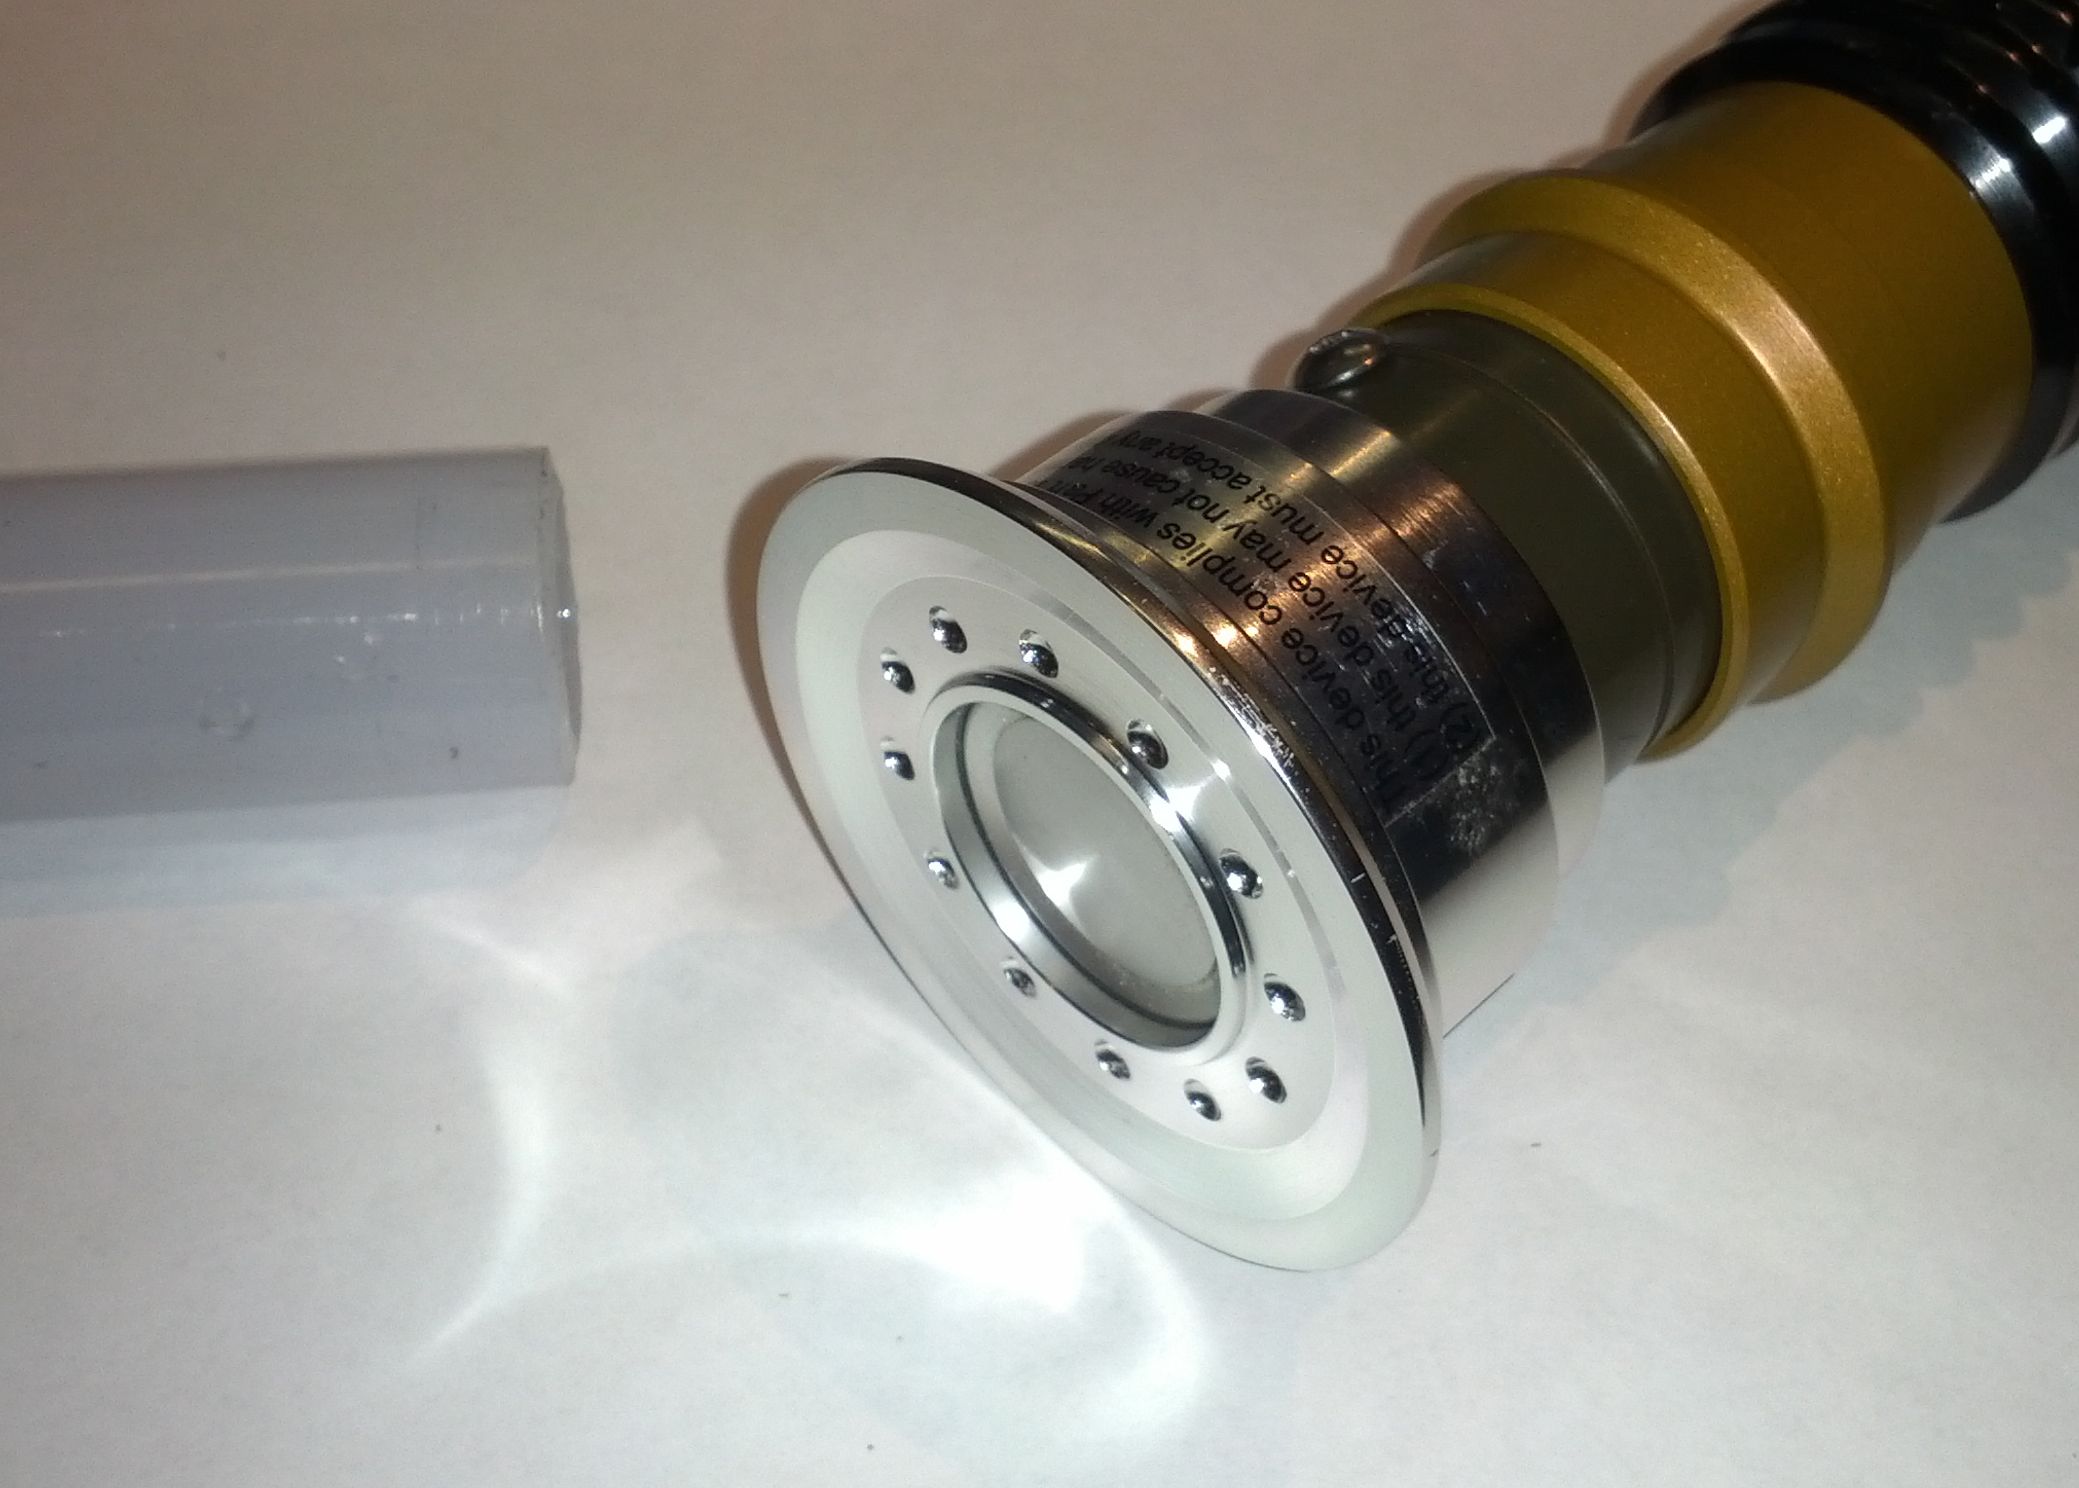
First, the standard removable blade FX have their blade socket attached to the blade with a series of pogo-pins at the bottom to enable the circuit. You can see this below:
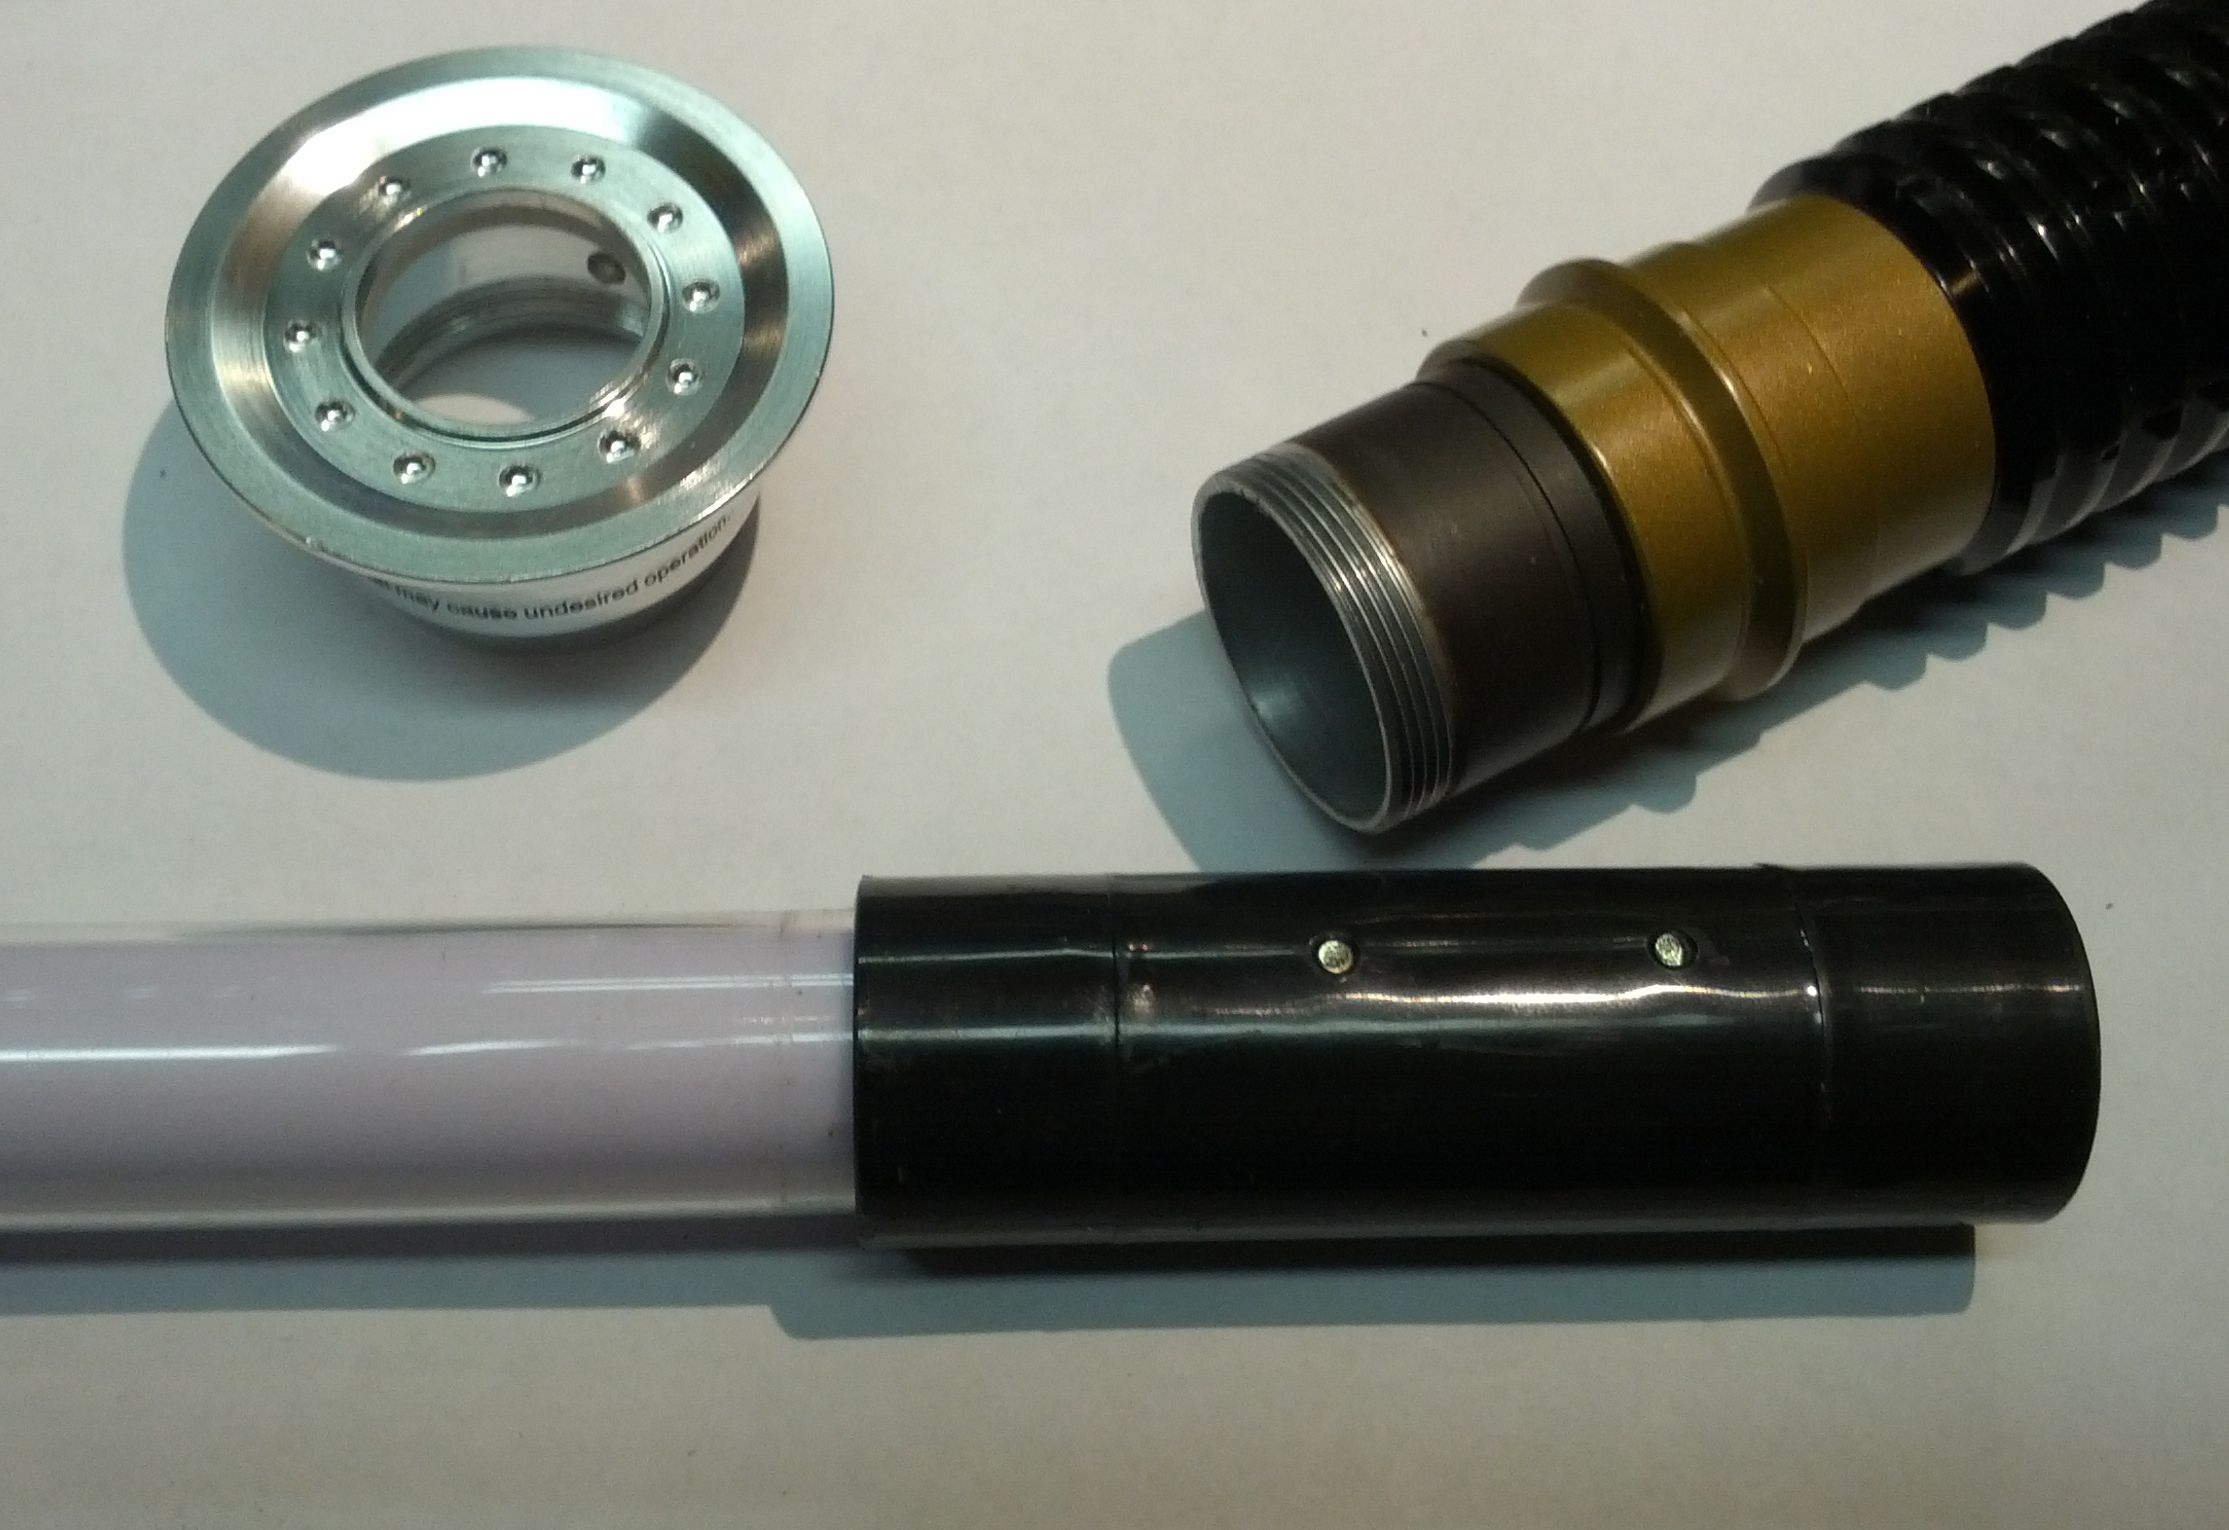
In this case we are using the Obi-Wan with removable blade. As you can see, the entire blade socket comes with the blade. However, if you have a battle ready model and you remove the blade and it looks like this, you've basically just trashed your saber.
So a major difference between the removable blade model and our Battle Ready models is the set-screw as seen in the picture below:
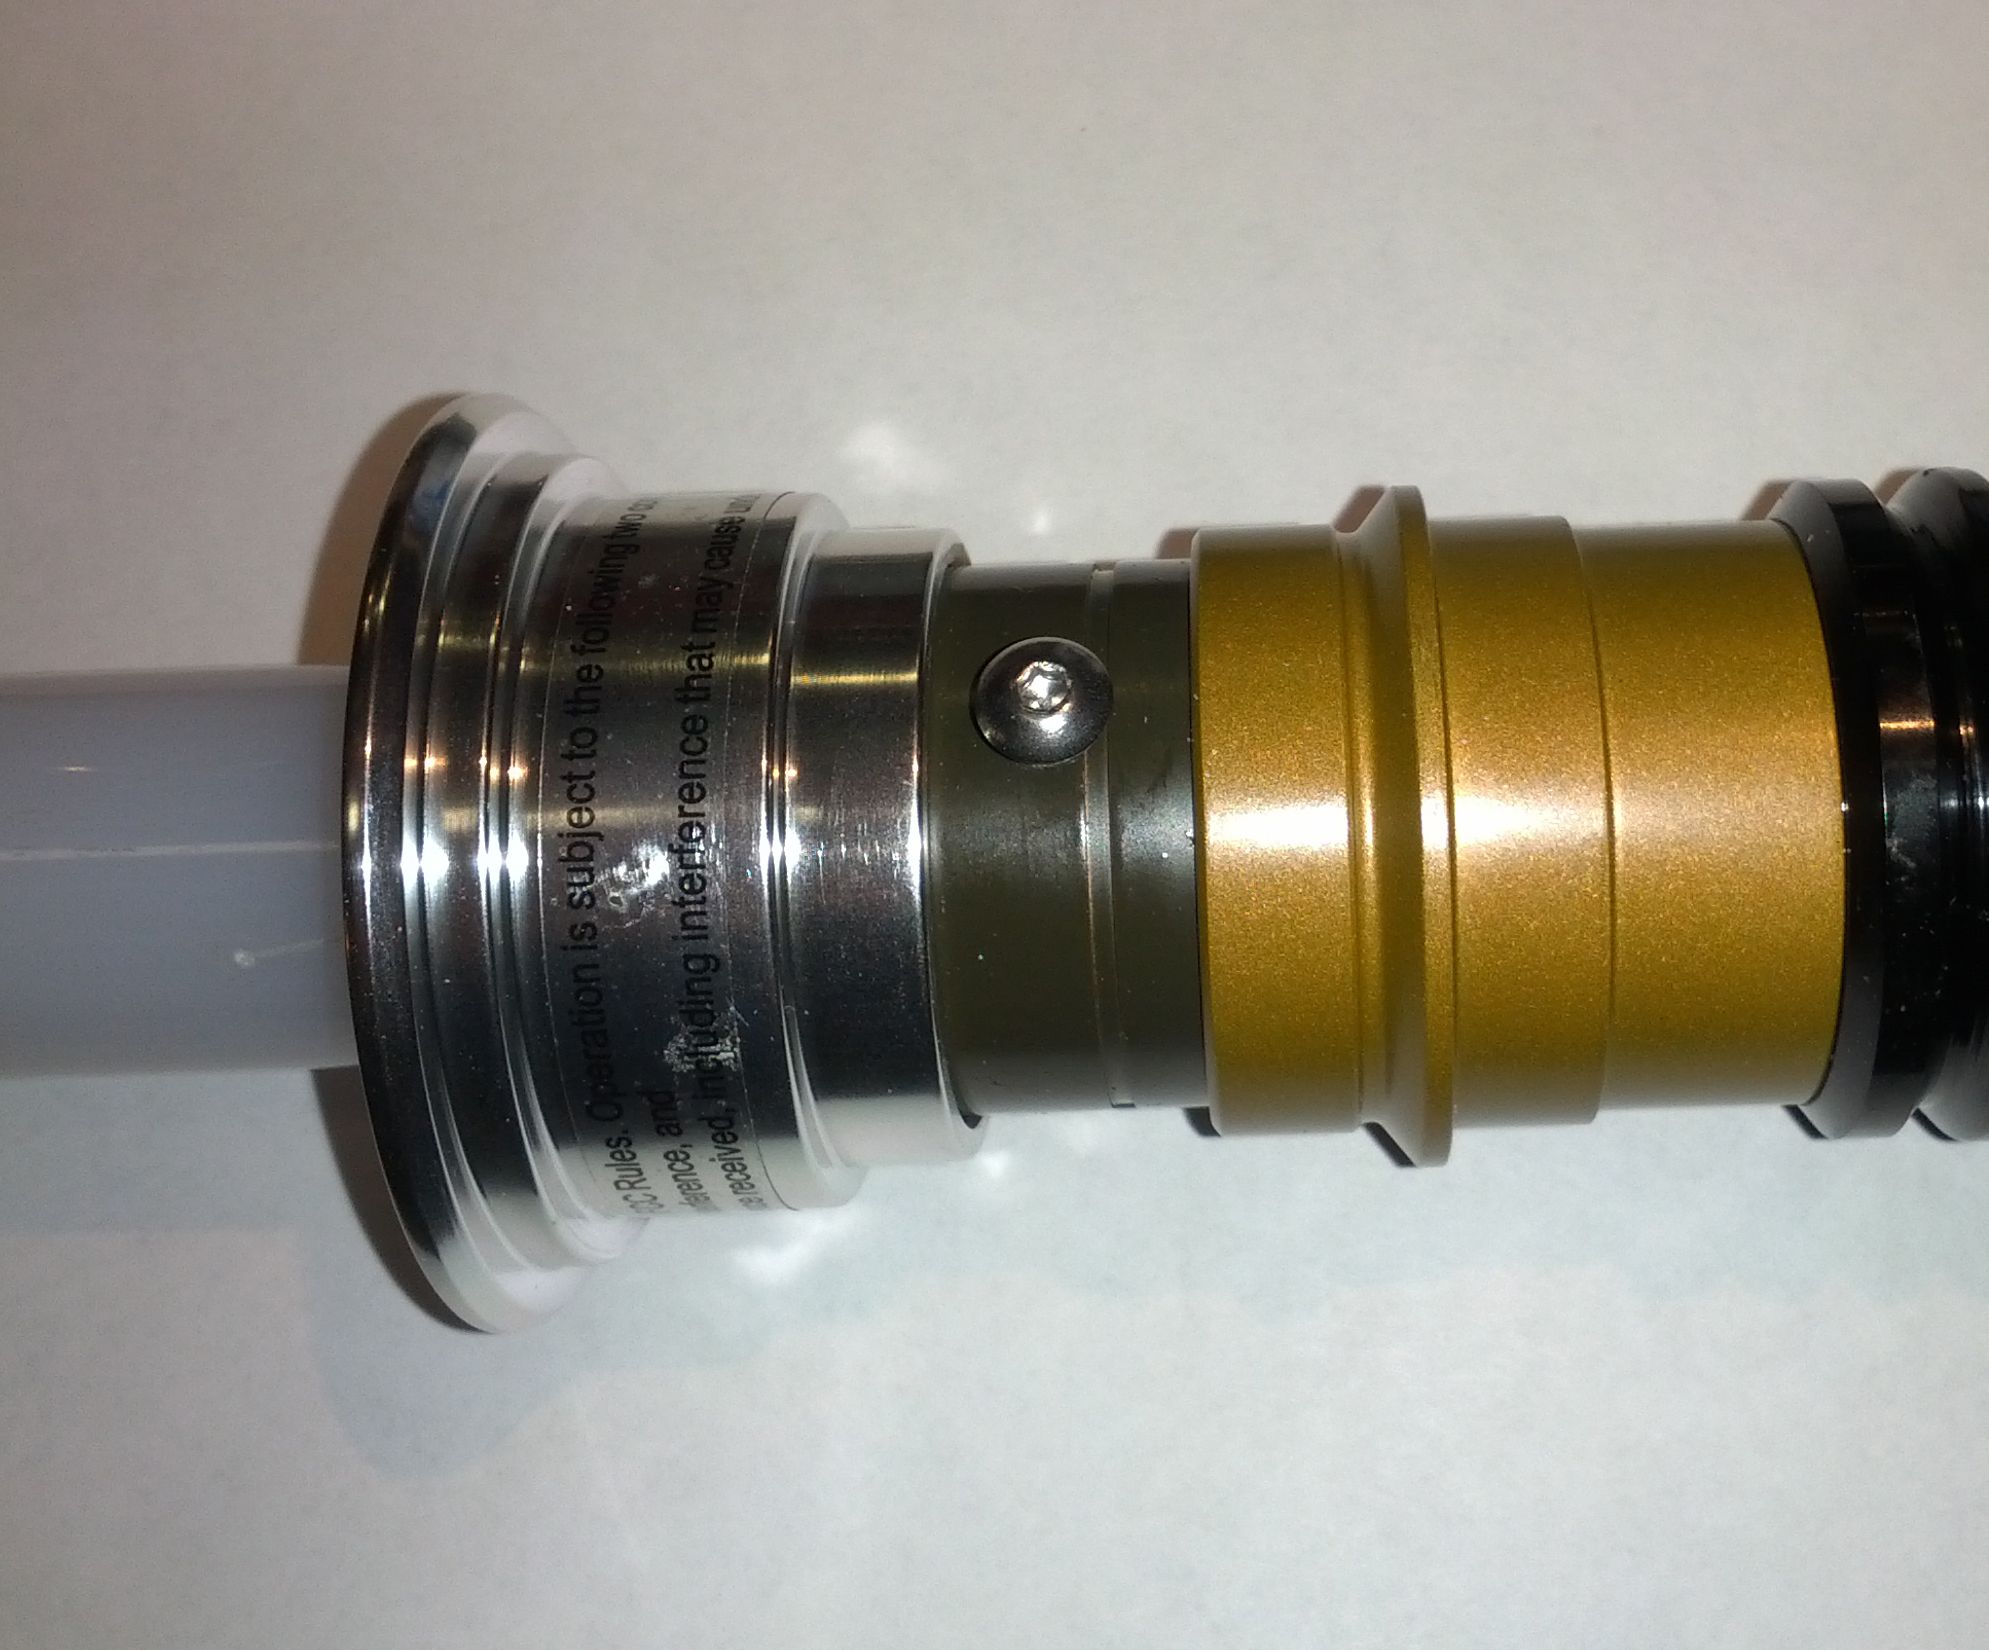
This set-screw is what holds the blade and the blade socket in. So, for a quick step-by-step on removing your battle ready blade.
1. Loosen but do not remove the set-screw. Also, do not remove the emitter as you would with the removable blade FX
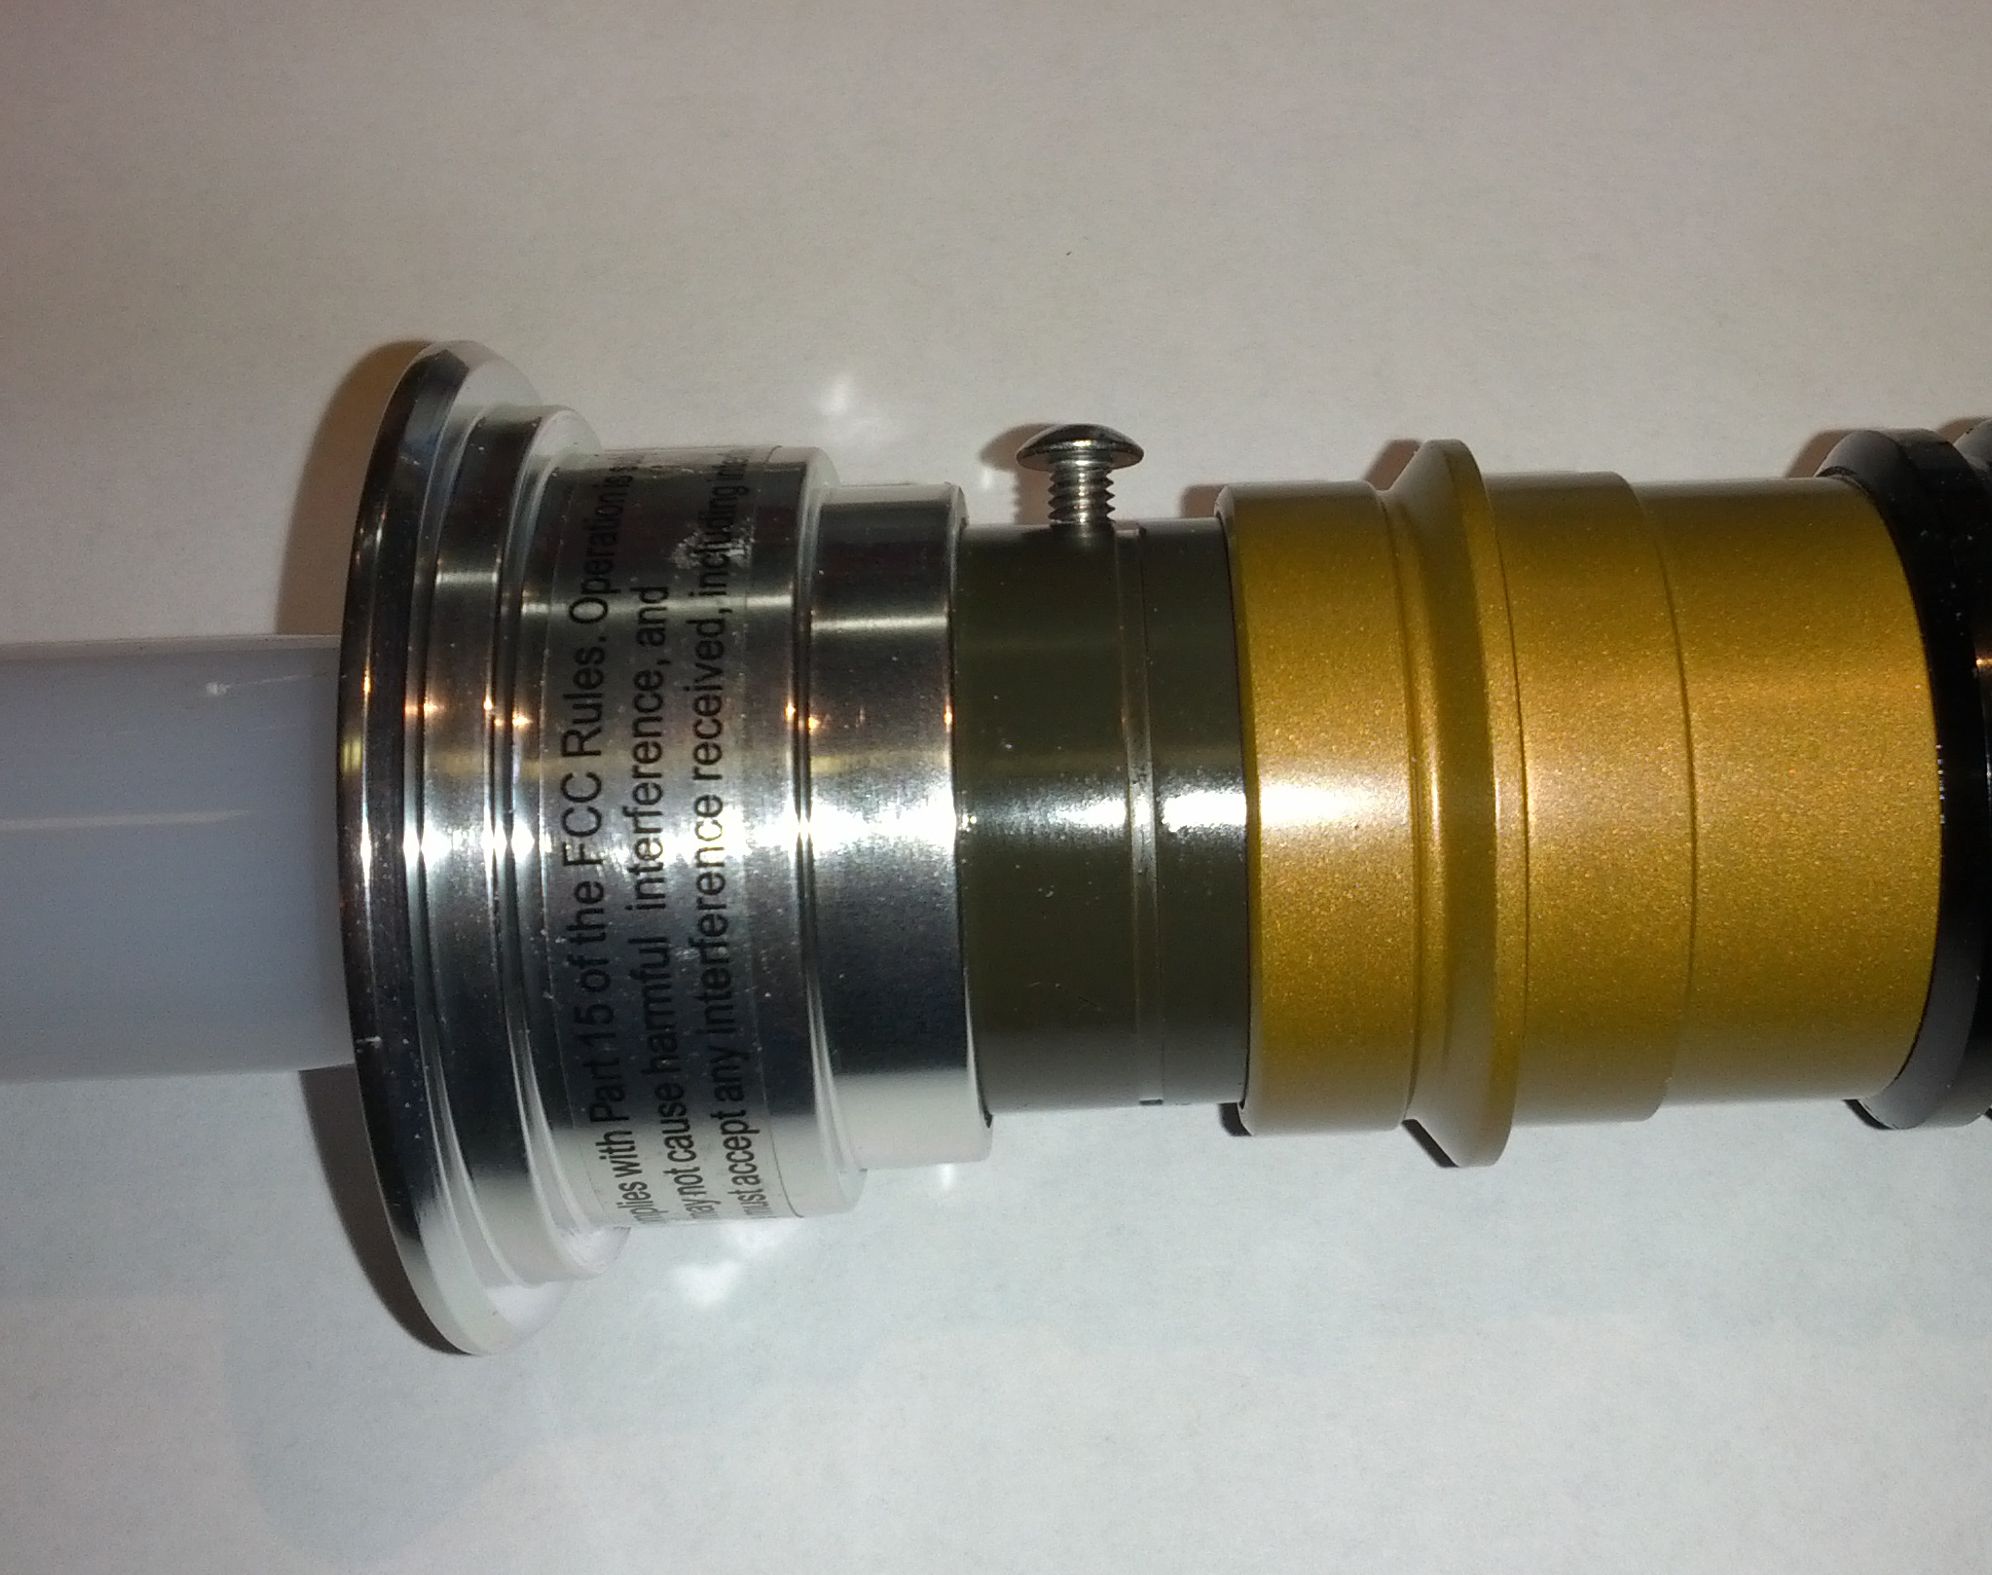
2. Remove the blade. If it's stuck you may have to adjust the set-screw and maybe give the blade a little bit of a twist (they stick a little from time to time but all battle ready blades are removable and are only held in by the set screw and a little bit of compression from the blade socket)
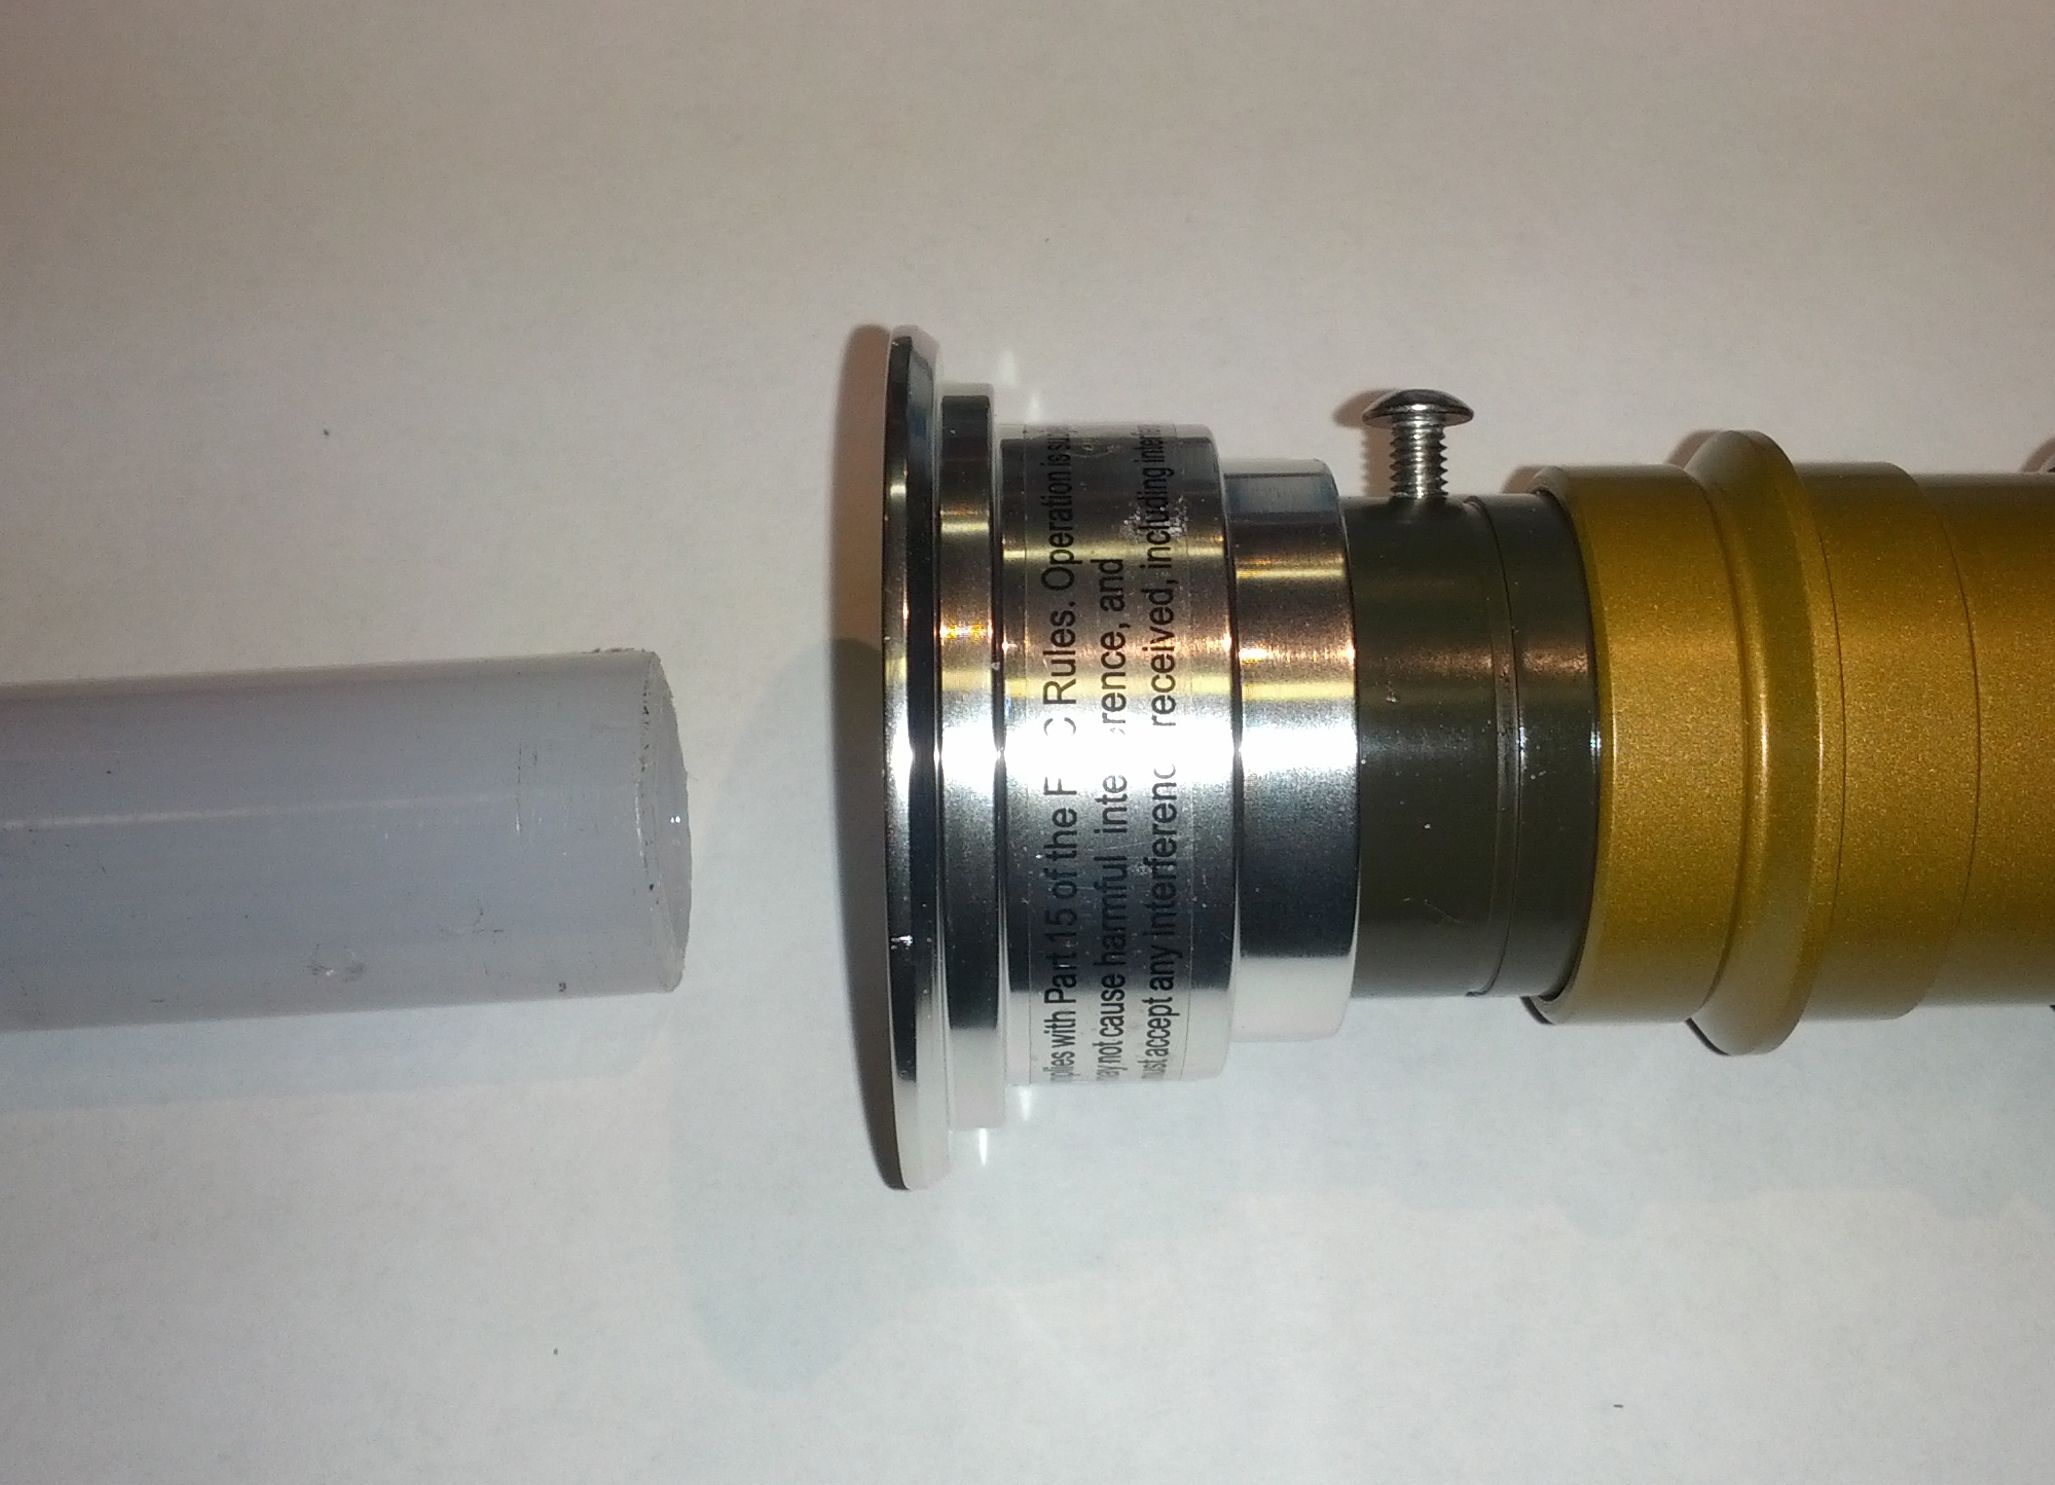
3. At this point you can unscrew the emitter and insert the emitter plug to give the saber a more finished look
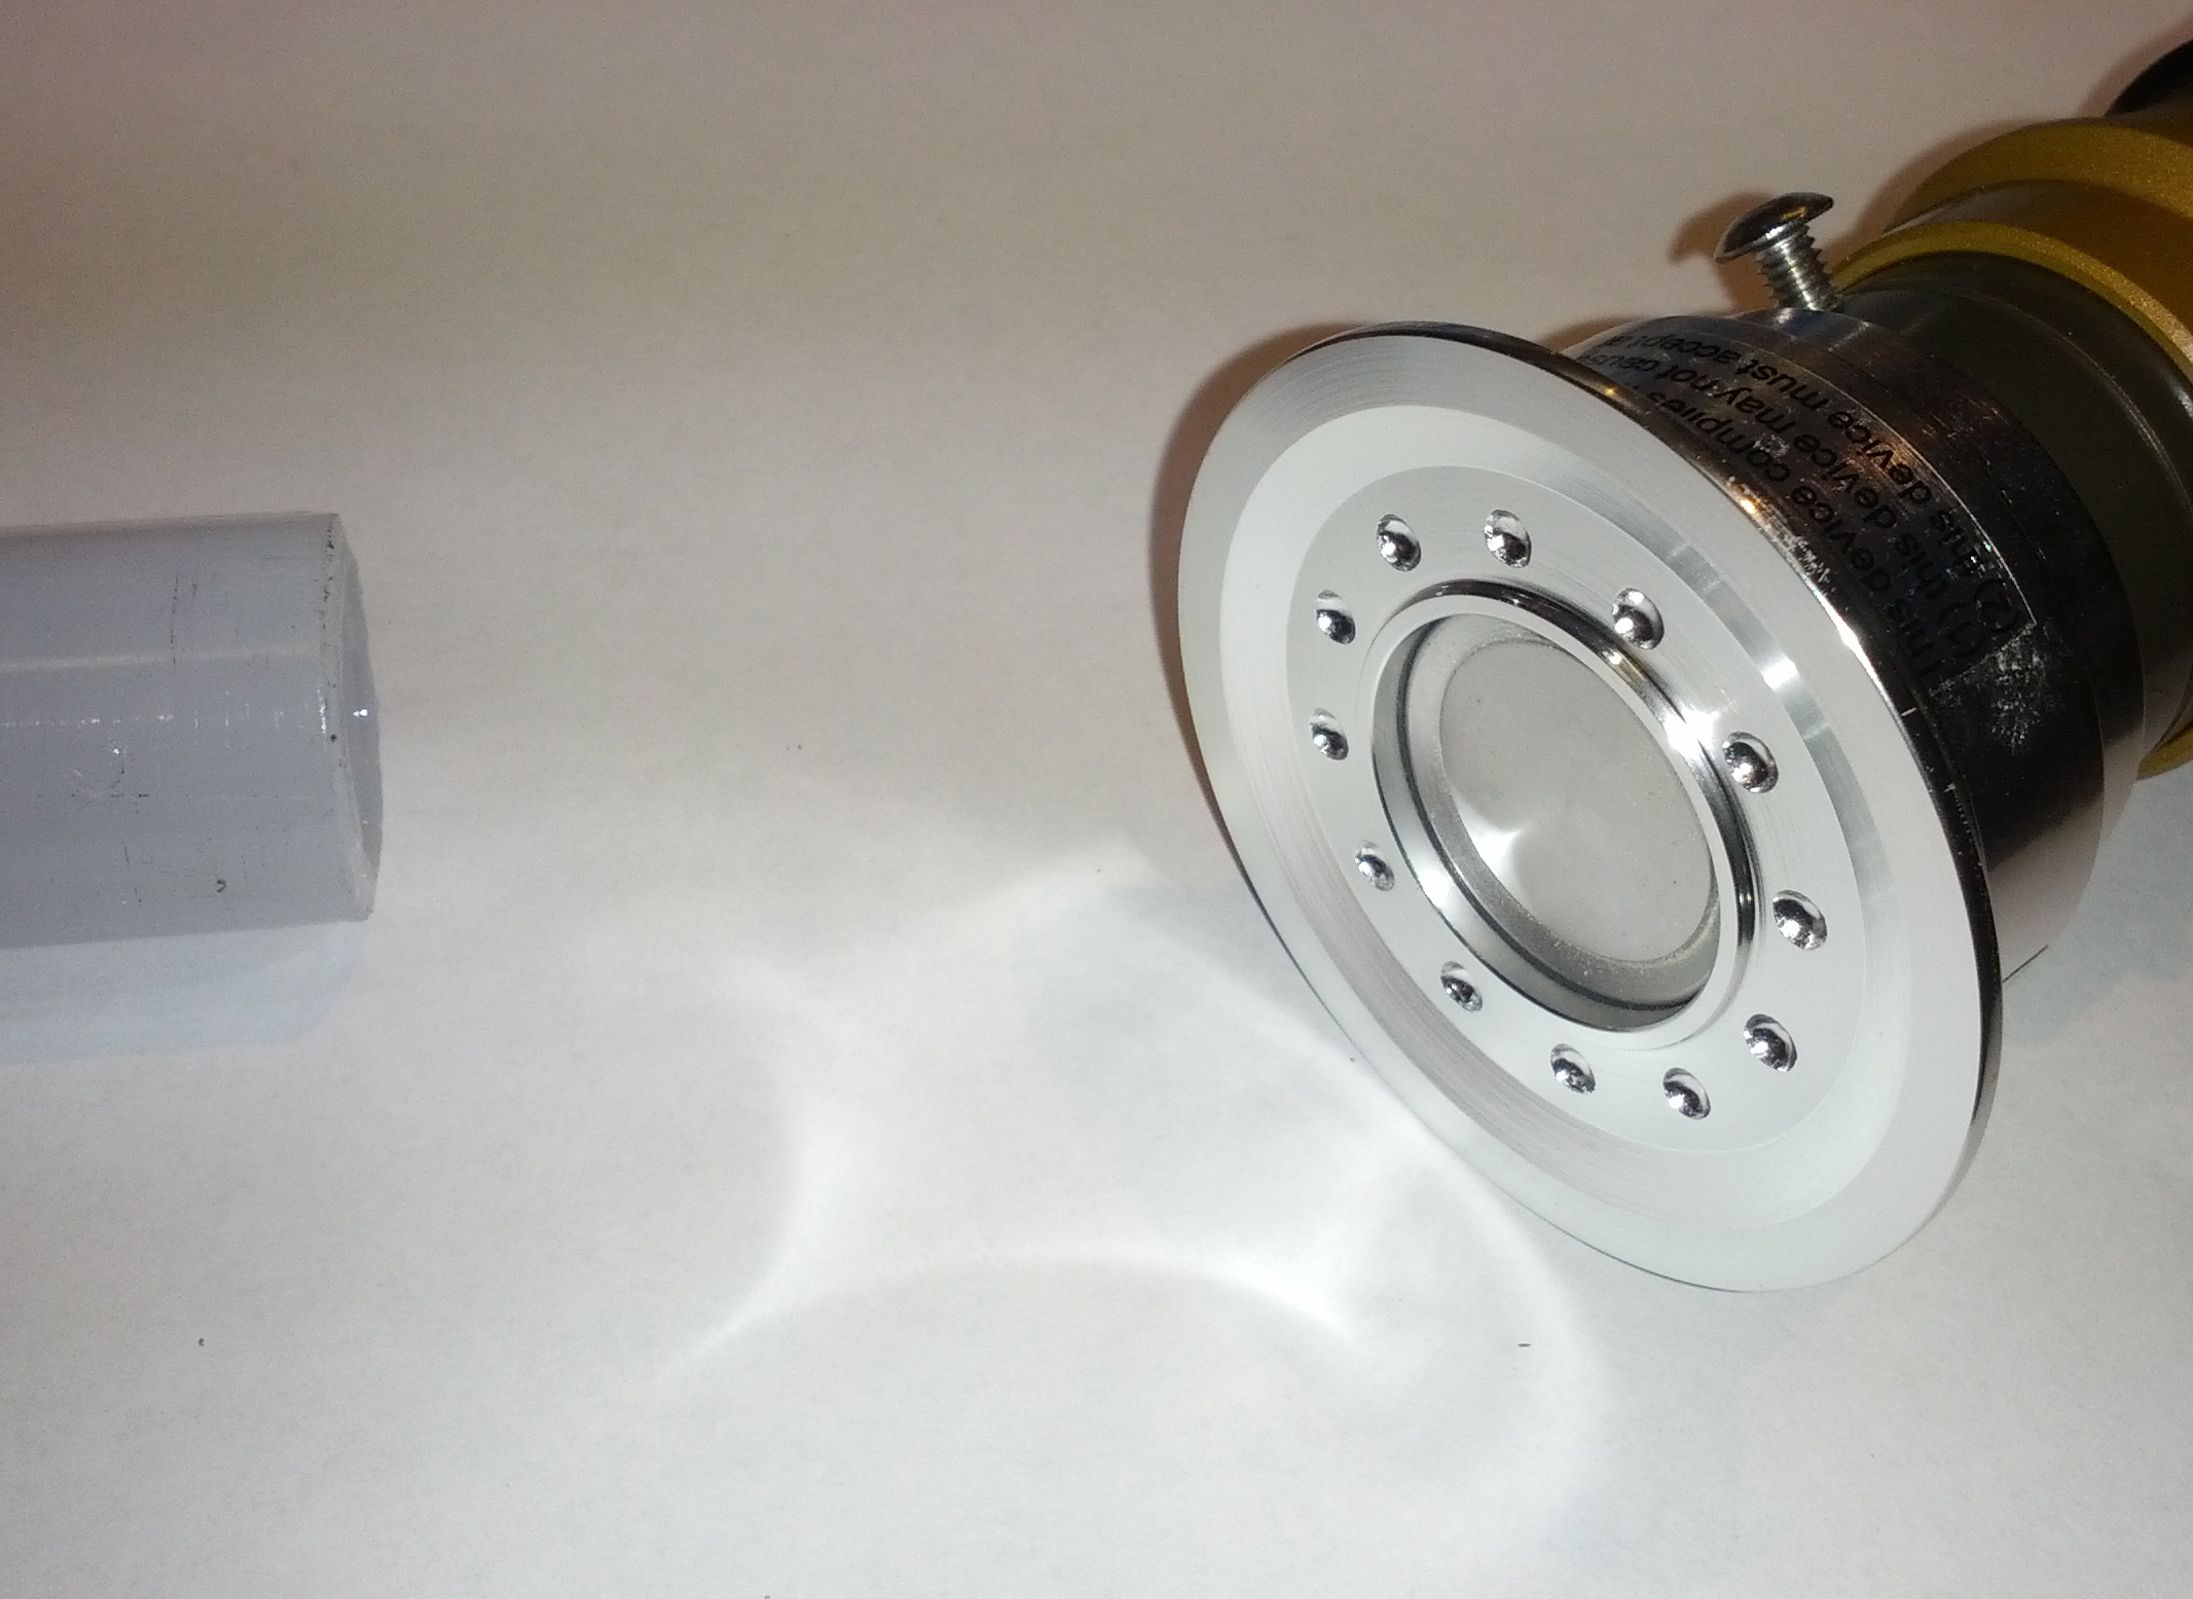
4. While you're at it, don't forget to tighten down the set-screw
This will give your saber the "finished" look for costuming and such. To reinsert the blade just follow this in reverse.
First, the standard removable blade FX have their blade socket attached to the blade with a series of pogo-pins at the bottom to enable the circuit. You can see this below:

In this case we are using the Obi-Wan with removable blade. As you can see, the entire blade socket comes with the blade. However, if you have a battle ready model and you remove the blade and it looks like this, you've basically just trashed your saber.
So a major difference between the removable blade model and our Battle Ready models is the set-screw as seen in the picture below:

This set-screw is what holds the blade and the blade socket in. So, for a quick step-by-step on removing your battle ready blade.
1. Loosen but do not remove the set-screw. Also, do not remove the emitter as you would with the removable blade FX

2. Remove the blade. If it's stuck you may have to adjust the set-screw and maybe give the blade a little bit of a twist (they stick a little from time to time but all battle ready blades are removable and are only held in by the set screw and a little bit of compression from the blade socket)

3. At this point you can unscrew the emitter and insert the emitter plug to give the saber a more finished look

4. While you're at it, don't forget to tighten down the set-screw

This will give your saber the "finished" look for costuming and such. To reinsert the blade just follow this in reverse.
Shopping Basket
| Items: | 0 |
| Subtotal: | $0.00 |
Note: All prices in US Dollars
Special sale on the Luke ROTJ FX lightsabers!
FEATURED PRODUCTS
| 1 | 2 | 3 |
 |
 |
 |
 |
 |

